
Part 3 of 4
Before reading this post, make sure you’ve read Part 1 and Part 2 and have completed the suggested tasks. Once you’ve done that you will be ready to continue creating your portfolio.
Step 3: The Tools I’ve Used To Create My Portfolio
Once I had a clearly thumbnailed plan of my portfolio, I began building it. The tools I’ve used to create my portfolio are OneDrive, Photoshop CS5, InDesign CS5, Photobook Canada, QR Code, iPhone SE, Camtasia, Adobe Rush app, and iMovie app.
OneDrive
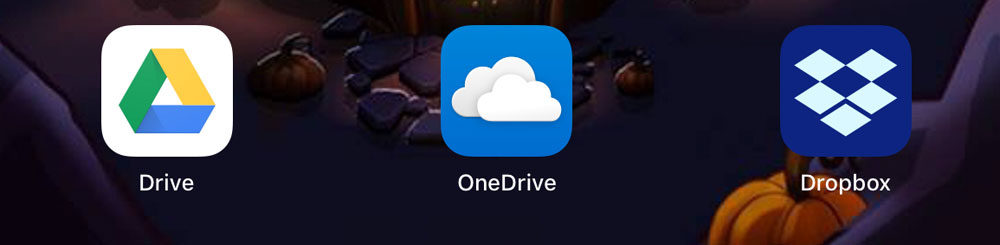
Before you begin, make sure you have a backup drive. The worst thing that can happen is for you to spend so much time building your portfolio only to have your work disappear. Create a folder and keep saving as often as possible, but at least once/day. I have an external USB hard-drive, but also a designated folder in OneDrive.
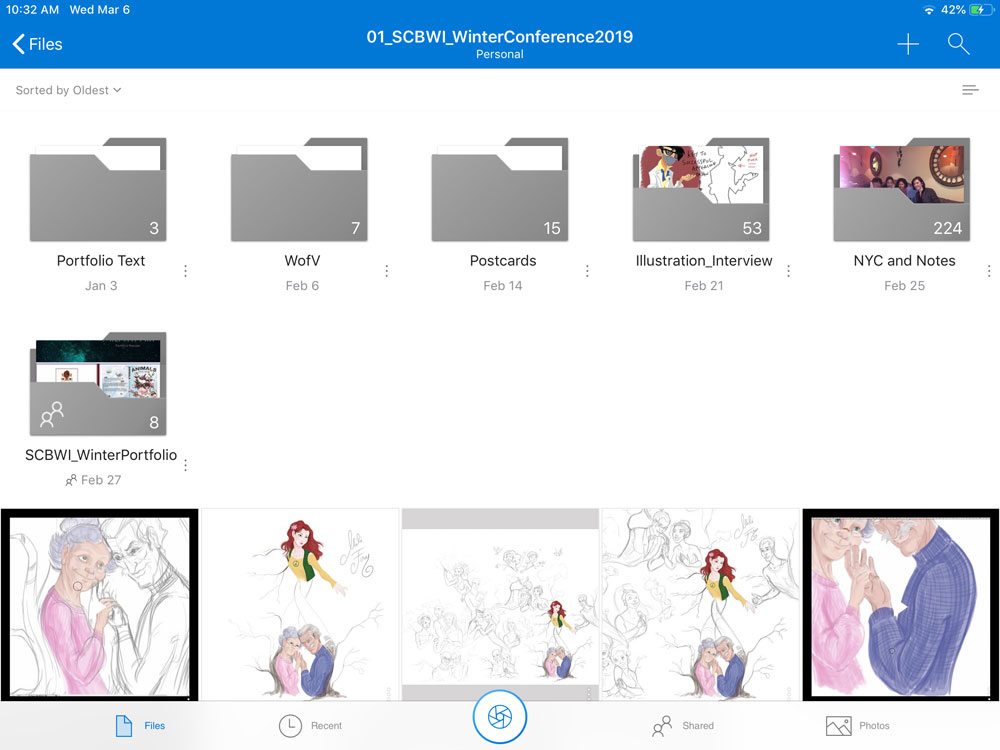
Having a OneDrive folder allows me to easily switch my work between my devices. You can also use DropBox, GoogleDrive, etc.
Photoshop CS5
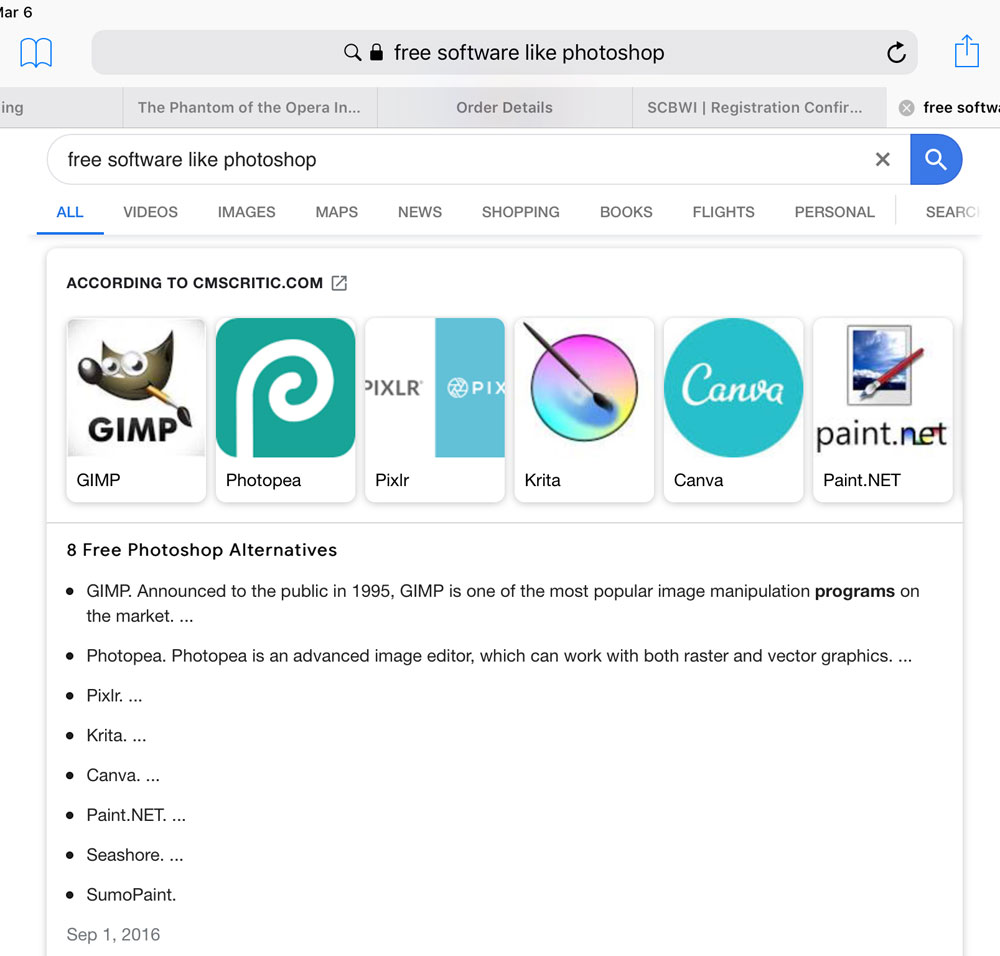
Photoshop is an insanely powerful software and I tend to use maybe 10% of its functions. At this time the CCs version costs US$10/month. However, there are other photo-manipulation softwares that can suit your needs and are nowhere near as expensive. There are even some that are free.
What you need is a software that will:
- help you make basic changes to your scanned images (adjustments to color, contrast, etc. Smart phone cameras have some of these features).
- Allow you to crop and size images — make sure you can see the resolution — for print, your files need to be minimum 300dpi/ppi if you wish to avoid pixelation.
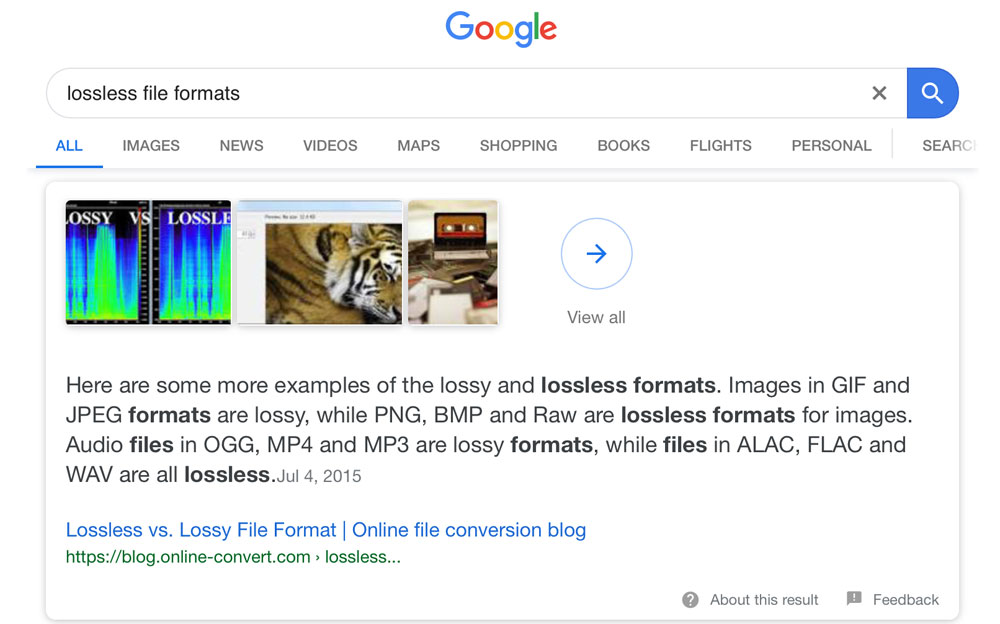
- make sure you can save your edits in a variety of formats: Try not to work with JPEG files because the more you Open and Save them, the more information is lost. This is why they are LOSSY. I tend to work with PSD, the native Photoshop, files. (Look up “lossless file formats” for other choices.)
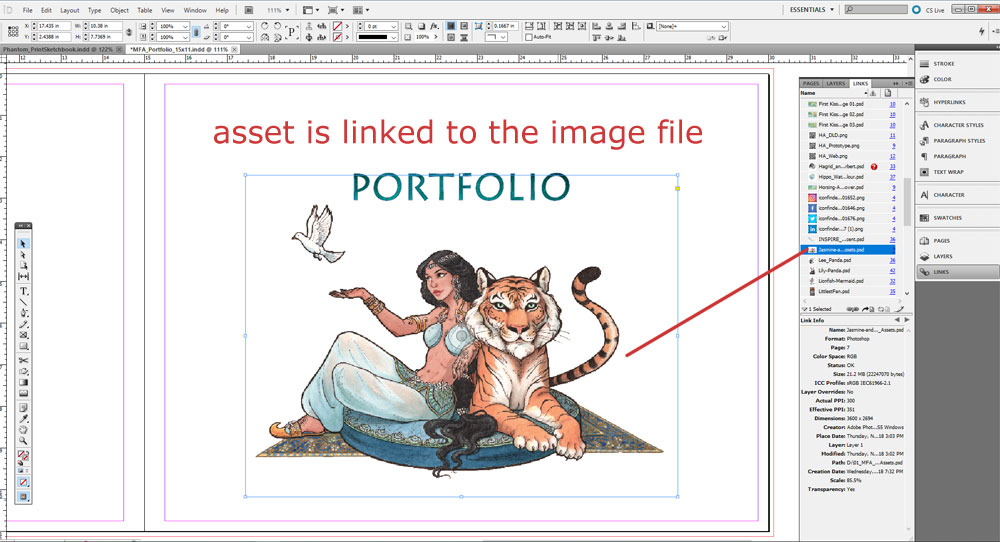
Adobe InDesign CS5
I think of this software as Layout Software. I create what I need in Photoshop and Microsoft Word, then I import the images and text and make them ready for print in InDesign. InDesign has ways of manipulating space and assets that keeps everything sharp. Since Photoshop and InDesign are both from the Adobe family, as I make changes to files in Photoshop, the same changes are made in InDesign.
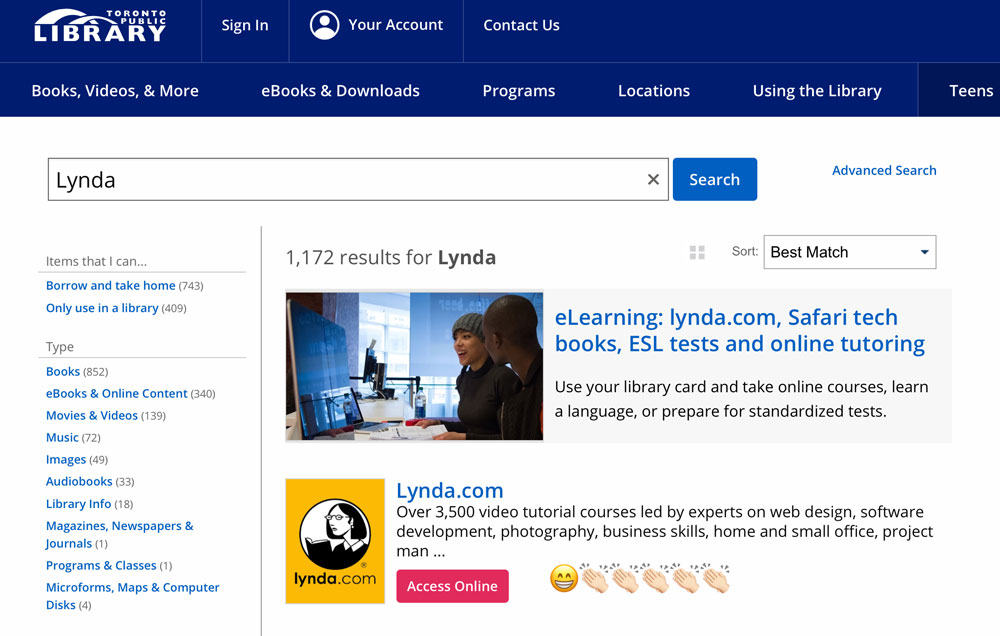
You may be able to learn these programs for free through your local library system, make sure you inquire. Otherwise there are a lot of tutorials on YouTube.
InDesign can also output ePub (eBook) files. However, I find that the program creates a lot of junk HTML code, so if you would like to make eBooks I suggest you take a course. The more junk code you have in the file, the larger the file size, the more expensive it is to produce.
In InDesign, I make my book ready for printing. Get all the specifications you need from the printer, so that you know how much space you need to leave for bleed (this is trimmed by the printer, and usually unnecessary if you do not have images that extend to the edge), margins (between them is the information that must not be lost), and gutter area (the area next to the seam of the book). The minimum I find is 0.125 inch for bleed, 0.5 inch for margins, and 0.325 inch for the gutter. However, please make sure you check with your printer.

Photobook World Wide
As a Canadian I use Photobook Canada. The books are printed and shipped from Thailand via US. You can find your own printing company. The reason I chose Photobook Canada is because I found a decent discount on Groupon. The quality is acceptable, but can be upgraded.
Unless you choose a local printer where you can test the papers and production, I find it is always a gamble when ordering things from printers online. Therefore, make sure you give yourself enough time to reorder the books if necessary.
Photobook Canada has their own software which is atrocious. Terrible! Like something from the dark ages of the computing world. Instead of using their software to design my book, I have the JPEG files (they only accept JPEG files, so once you are done manipulating your pages export your files as JPEG) ready for printing. I upload pages into their software and waste a lot of time getting the images cantered properly. The software does not leave space for bleed, so I export the files without bleed from InDesign. However, you should always work with Bleed, because if you find a better printer they may request you have one.
If you choose Photobook, check Groupon first, because they often offer discounts. Instead of trying to figure out how to order the book online, build your book using their software and you can pay (enter your Groupon Voucher Code) as you go to publish your book. I wasted hours trying to figure out how to select my purchase online, before I figured out this process. You’re welcome.
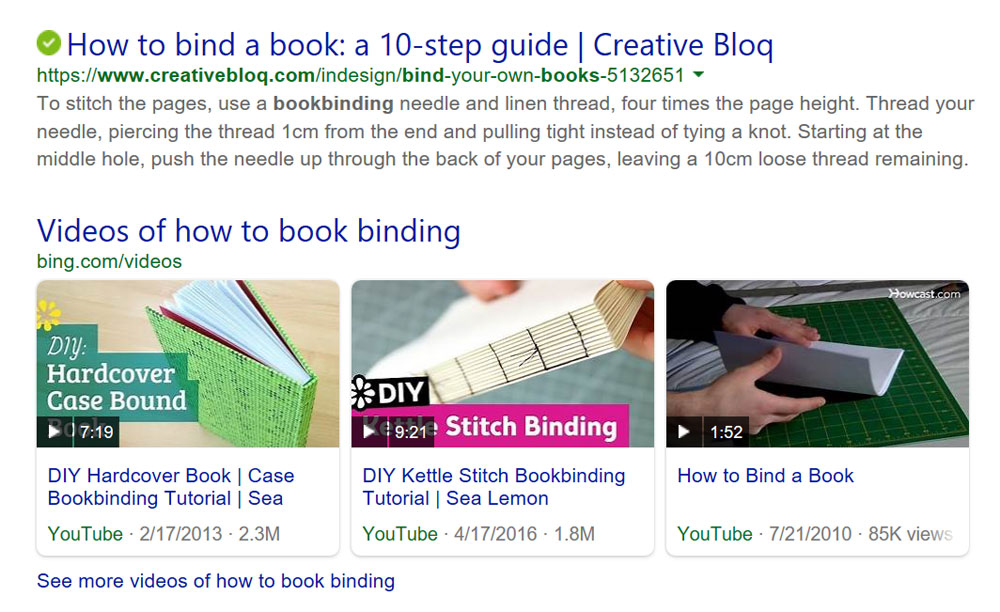
If you can afford it, at checkout choose the HD paper option. It’s glossy, but the images are better and sharper. The result is still from a CMYK digital printer, and is therefore not as good as an offset printer or Giclée, but it is acceptable. If you want the best quality and money is no object, you can always print Giclée prints and bind the portfolio yourself. There are a lot of tutorials on book binding available online.
QR Code
A Portfolio is an introduction, not your life story. However, if after viewing your introduction they become interested in your life story, the easiest way to lead them there is via QR Codes. I’ve used this free QR Code Generator and have had no issues in the past. You can search for others online. Beware, some free generators will lead your prospect to other advertising pages before taking you to the one you specify. Test your QR Codes before publishing.
Portfolio Illustration Interview
I’m an overachiever (in case you have not figured this out by now), so of course I decided to take an extra step and have recorded myself using iPhone SE camera and then have created an Illustration Interview Video. I figured that if someone was interested in my work, they can get to know me as a person a bit through the video.
Camtasia is the program I use to record my screen as I work, but also to combine images and create videos.
Unfortunately, the iPhone video files were too large for Camtasia to handle. Therefore, I used Adobe Rush to edit them. (P.S. Adobe Rush app does not match Adobe Premier in video editing capabilities, no matter what the developers say.) However, Adobe Rush is an insanely expensive app, so I will not be using it in the future. Adobe Rush is worth it only to the users who make frequent videos. I’m not one of them. I will make iMovie work with Camtasia instead.
Action Step:
Choose your software and create your portfolio. Remember, always keep in mind the purpose for your portfolio. Do not copy mine for your job interview or job application, because I created this portfolio as a showcase, not for a specific position.
In the following article, I will share my portfolio with you and the results of my NY SCBWI 20th Annual Winter Conference.